21, Nov 2023
Christmas Drawing For Class 7 – A Step-by-Step Guide To Capture The Festive Spirit
Christmas Drawing for Class 7 – A Step-by-Step Guide to Capture the Festive Spirit
Related Articles: Christmas Drawing for Class 7 – A Step-by-Step Guide to Capture the Festive Spirit
- Christmas Door Decorations Preschool 2024: A Guide For Teachers And Parents
- Christmas Drawing Art Hub 2024: Unleashing The Spirit Of Joy And Creativity
- Christmas Door Decorations For Teachers: A Festive Guide For 2024
- Oh Deer! Get Festive With Christmas Door Decorations For 2024
- Christmas Drawing Bases 2024: A Comprehensive Guide
Introduction
With enthusiasm, let’s navigate through the intriguing topic related to Christmas Drawing for Class 7 – A Step-by-Step Guide to Capture the Festive Spirit. Let’s weave interesting information and offer fresh perspectives to the readers.
Table of Content
Video about Christmas Drawing for Class 7 – A Step-by-Step Guide to Capture the Festive Spirit
Christmas Drawing for Class 7 – A Step-by-Step Guide to Capture the Festive Spirit

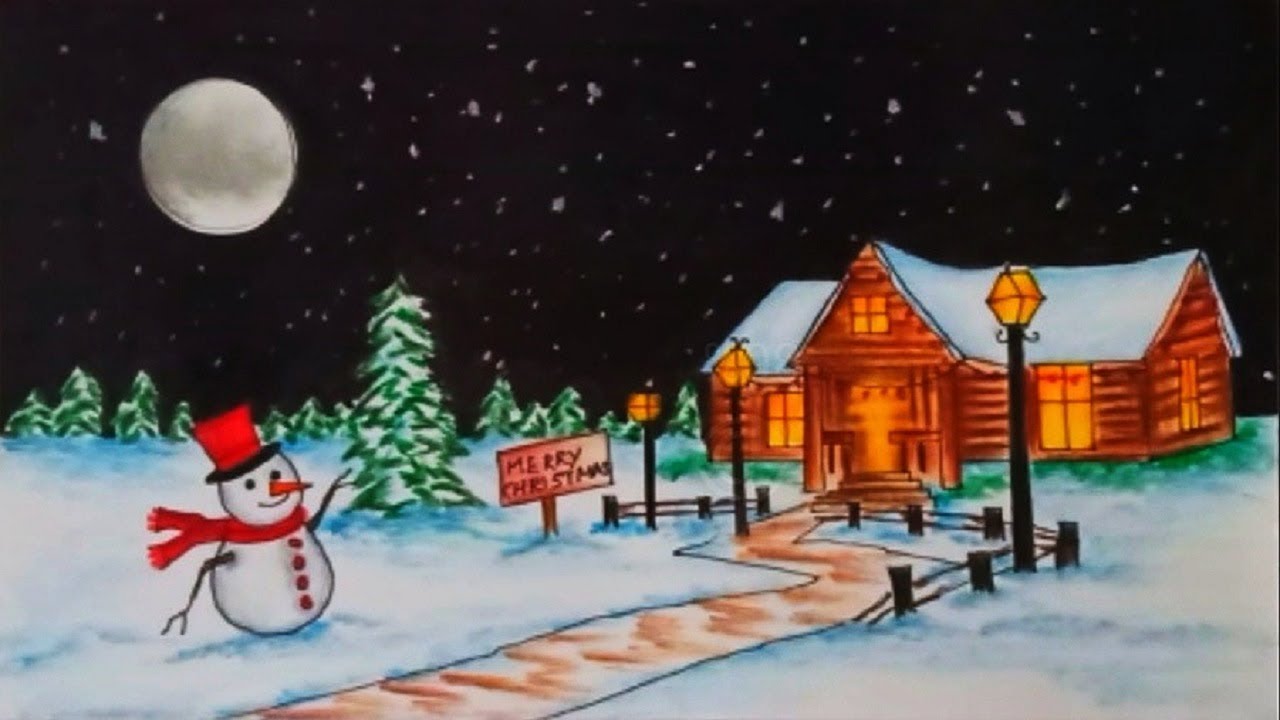
As the festive season approaches, it’s time to let your creativity flow and spread the Christmas cheer through art. Drawing is a wonderful way to express your holiday spirit and create beautiful keepsakes that will bring joy for years to come. This comprehensive guide will walk you through the process of creating a captivating Christmas drawing, perfect for students of Class 7.
Materials You’ll Need:
- Drawing paper (A4 or larger)
- Pencils (HB, 2B, 6B)
- Eraser
- Sharpener
- Ruler (optional)
- Colored pencils or markers (optional)
Step 1: Sketch the Basic Outline
Begin by lightly sketching the main elements of your Christmas drawing. Use the HB pencil to create a rough outline of the Christmas tree, the presents underneath, and any other festive decorations you wish to include. Don’t worry about making it perfect at this stage; it’s just a guide to help you plan the composition.
Step 2: Add Details to the Christmas Tree
Now, focus on adding details to the Christmas tree. Use the 2B pencil to draw the branches, starting from the trunk and working your way outwards. Vary the length and thickness of the branches to create a natural-looking effect. Pay attention to the direction of growth and the shape of the foliage.
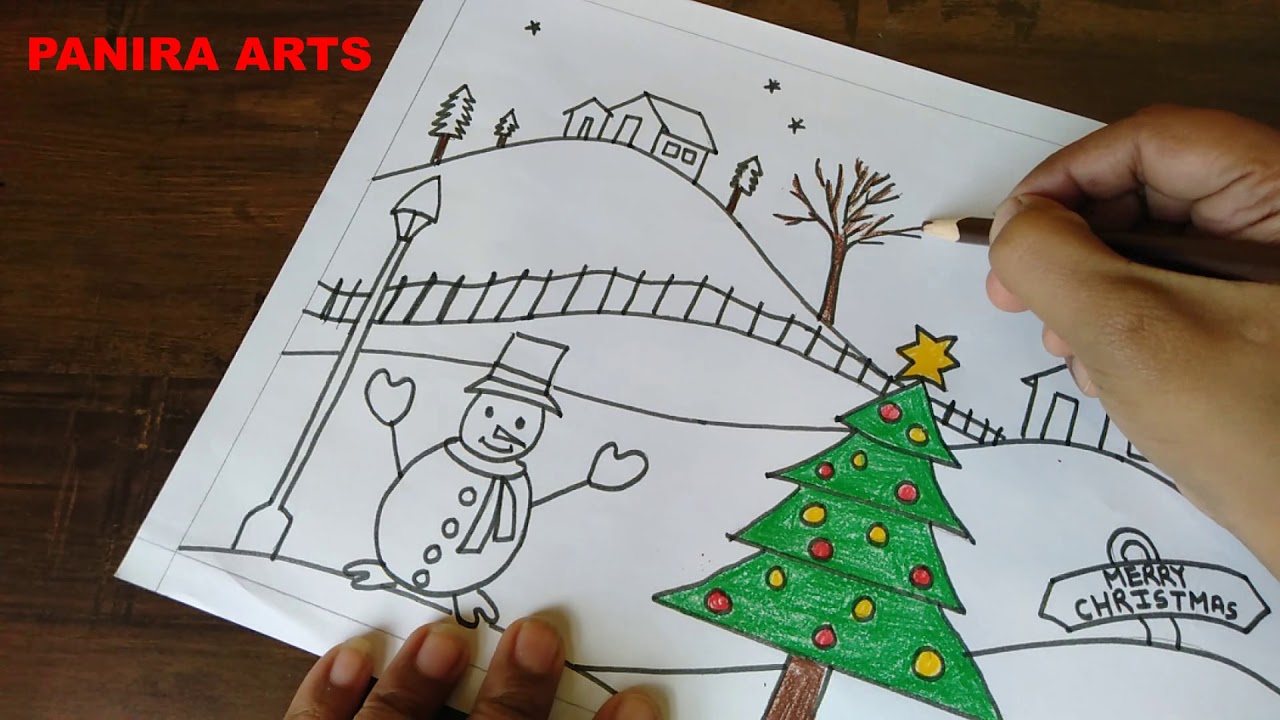
Step 3: Decorate the Tree
It’s time to add the festive decorations to your Christmas tree! Use the 6B pencil to draw ornaments, baubles, and lights. Experiment with different shapes and sizes to create a vibrant and eye-catching tree. Don’t forget to add a star or angel at the top to complete the look.
Step 4: Draw the Presents
Beneath the Christmas tree, sketch the presents. Use a ruler if necessary to create straight lines and neat edges. Vary the sizes and shapes of the presents to make them look more realistic. Add ribbons and bows to give them a festive touch.
Step 5: Add Festive Decorations
Surround your Christmas tree and presents with festive decorations to create a cozy and inviting atmosphere. Draw garlands, stockings, and other holiday-themed elements. You can also add a fireplace or a wreath to enhance the wintery ambiance.
Step 6: Add Shadows and Highlights
To give your drawing depth and dimension, add shadows and highlights. Use the 2B pencil to lightly shade the areas that would naturally be darker, such as the underside of the branches and the crevices of the presents. Use the HB pencil to create highlights on the top surfaces, giving the illusion of light reflecting off the objects.
Step 7: Color Your Drawing (Optional)
If desired, you can add color to your Christmas drawing using colored pencils or markers. Choose festive colors such as red, green, gold, and silver. Experiment with different blending techniques to create smooth transitions and realistic textures.
Step 8: Final Touches
To complete your Christmas drawing, erase any unnecessary pencil marks and refine the details. Add a personal touch by writing a holiday message or drawing your own festive designs. Frame your artwork and display it proudly to spread the Christmas cheer!
Tips for Success:
- Use a light touch when sketching to avoid smudging.
- Pay attention to the proportions and scale of the objects in your drawing.
- Don’t be afraid to experiment with different pencil grades to create a range of tones.
- Take your time and don’t rush the process.
- Enjoy the creative experience and let your imagination soar!
Conclusion:
Creating a Christmas drawing is a fun and rewarding activity that allows you to express your holiday spirit and develop your artistic skills. By following the steps outlined in this guide, you can create a beautiful and festive drawing that will bring joy to all who see it. So, gather your materials, let your creativity flow, and immerse yourself in the magic of Christmas through art!


Closure
Thus, we hope this article has provided valuable insights into Christmas Drawing for Class 7 – A Step-by-Step Guide to Capture the Festive Spirit. We appreciate your attention to our article. See you in our next article!
- 0
- By admin